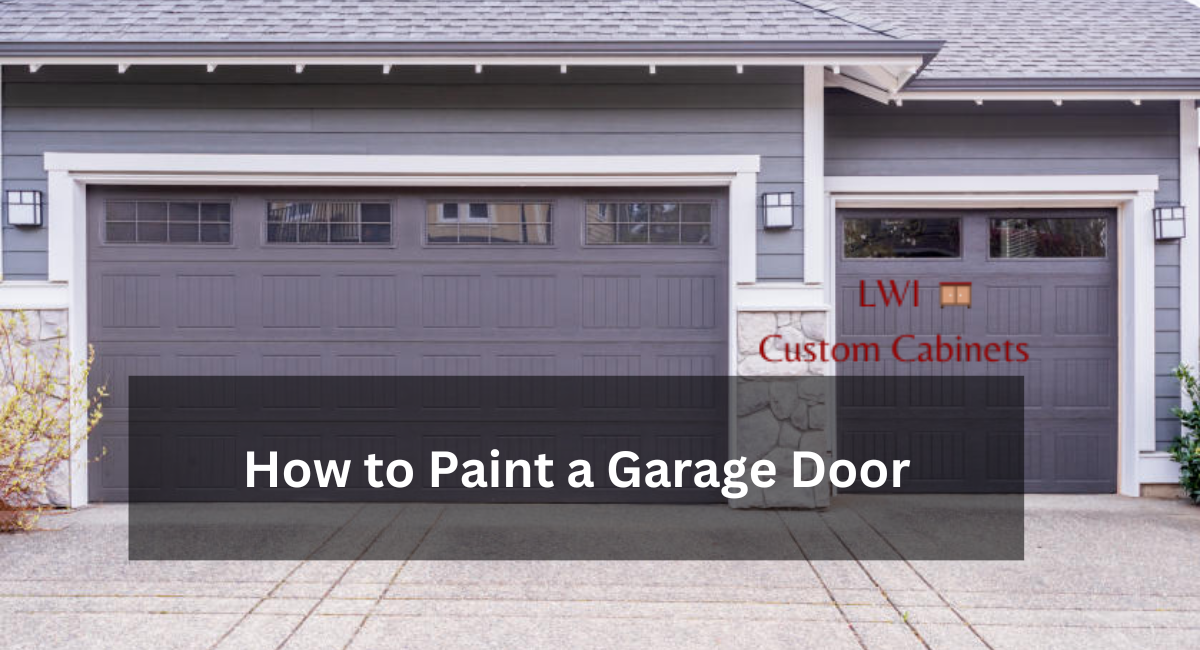
Garage doors are not just functional components of your home; they can also enhance your home’s curb appeal. A well-maintained and freshly painted garage door can make a significant difference in the overall aesthetics of your property. In this comprehensive guide, we will walk you through the steps on how to paint a garage door to perfection.
Gather Your Supplies
Before you begin this DIY project, it’s essential to gather all the necessary supplies. You will need:
- Paint: Choose a high-quality exterior paint that is specifically designed for metal or wood surfaces, depending on the material of your garage door.
- Primer: A primer is essential to ensure the paint adheres properly and provides a smooth finish.
- Paintbrushes and Rollers: Invest in high-quality brushes and rollers for a professional-looking result.
- Painter’s Tape: Use painter’s tape to protect any areas you don’t want to be painted, such as windows or hardware.
- Drop Cloths: Cover the surrounding area with drop cloths to prevent paint splatters on the driveway or landscaping.
- Sandpaper: You’ll need sandpaper to smooth out any rough spots on the garage door.
- Cleaning Supplies: Ensure your garage door is clean and free from dirt and grime before you begin.
Preparation
Step 1: Clean the Garage Door
Start by cleaning the garage door thoroughly. Use a mixture of water and mild detergent to remove dirt and grime. Rinse it off and let it dry completely.
Step 2: Remove Hardware
If possible, remove any handles, locks, or other hardware from the garage door. This will make the painting process easier and ensure an even finish.
Step 3: Sand the Surface
Inspect the garage door for any rough or peeling paint. Use sandpaper to smooth these areas, creating a clean and even surface for the new paint to adhere to.
Step 4: Apply Primer
Apply a high-quality primer to the entire garage door surface. This step is crucial for ensuring the paint adheres correctly and provides a long-lasting finish.
Painting
Step 5: Start Painting
Once the primer is dry, it’s time to start painting. Begin with the recessed or detailed areas using a paintbrush, then switch to a roller for the larger, flat sections.
Step 6: Apply Multiple Coats
To achieve a professional look, it’s recommended to apply multiple coats of paint. Allow each coat to dry before applying the next one.
Step 7: Pay Attention to Drying Time
Proper drying time between coats is crucial. Follow the manufacturer’s recommendations for drying times on the paint and primer you’re using.
Step 8: Reattach Hardware
After the final coat has dried, reattach any hardware that was removed.
Clean Up
Once you’ve completed the painting process, it’s time to clean up. Remove the painter’s tape and drop cloths, and dispose of any used materials properly.
Maintenance Tips
To keep your newly painted garage door looking fresh and vibrant, consider these maintenance tips:
- Regular Cleaning: Clean the door periodically to remove dirt and dust.
- Touch-Ups: Keep some of the leftover paint for touch-ups as needed.
- Inspect for Damage: Regularly inspect your garage door for any signs of damage or peeling paint.
By following these steps and regularly maintaining your garage door, you can ensure that it remains a beautiful and functional part of your home.
READ ALSO:
How to Design a Coastal Kitchen: 7+ Soothing Beach-Themed Kitchen Ideas

